| First, a diagram of the
driveshaft renewed on this page: |
|
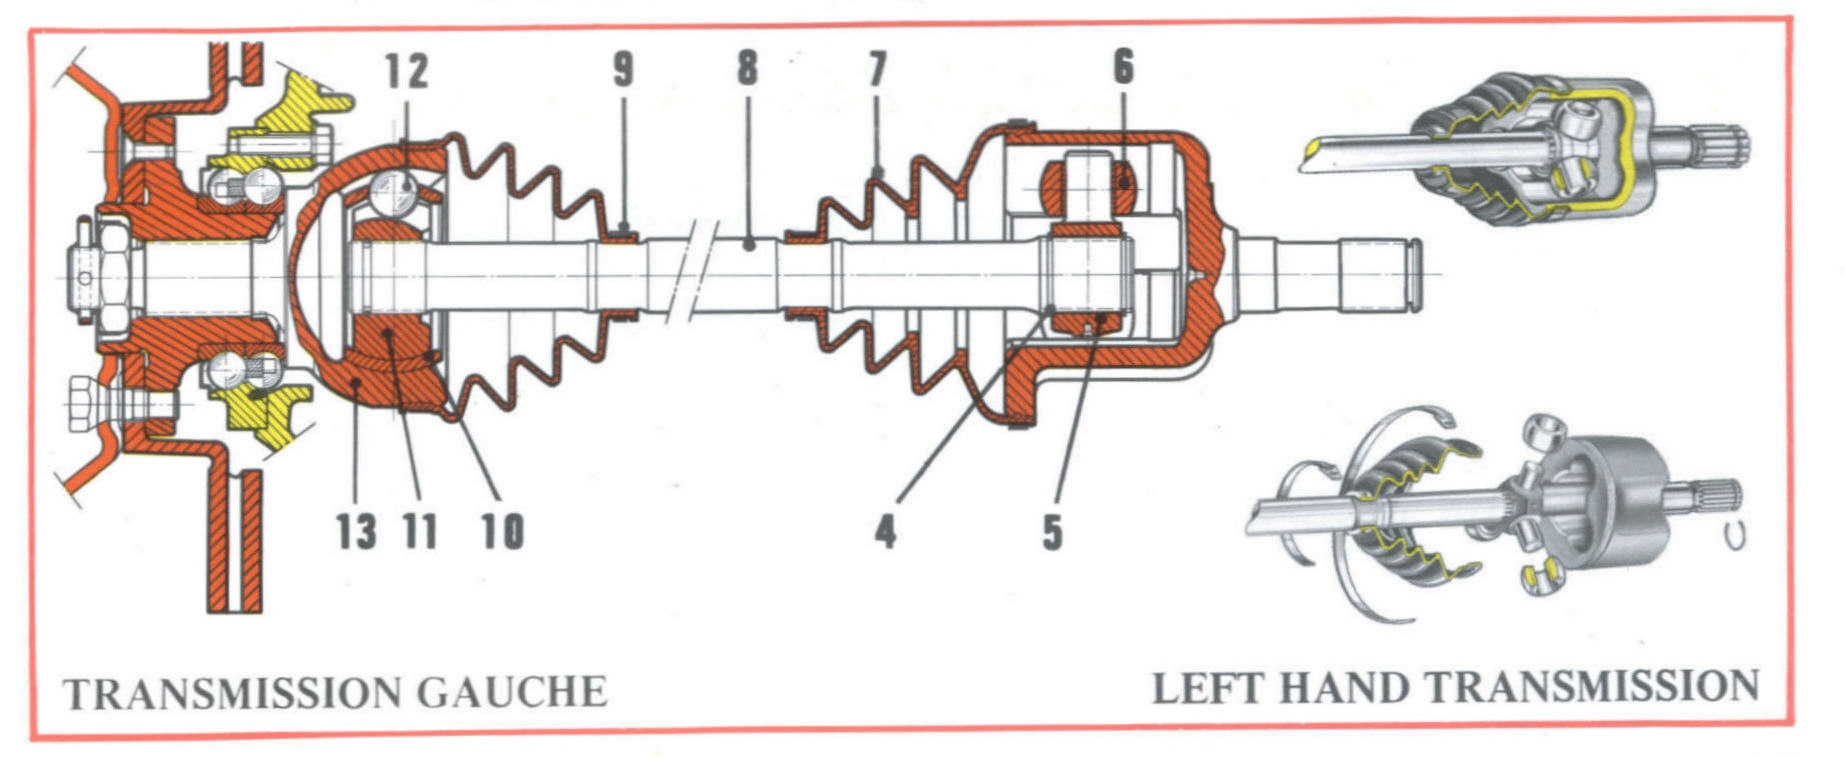 |
| 13) Stub-axle |
11) Coupling |
12) Balls |
10) Housing |
9) Ligarex |
8) Driveshaft |
7) Boot |
4) Circlip |
5) Tri-Axe Coupling |
6) Rotules |
|
| |
| |
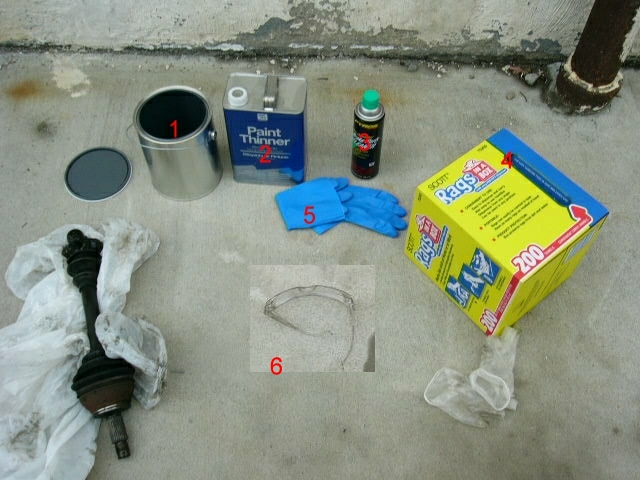
| Necessary Tools: |
 |
|
1) NEW
clean metal bucket
2)Paint thinner, or mineral spirits -
something that will break down the grease
3) Brake Cleaner - get the non- chlorinated
kind
4) Big box of clean towels
5)Gloves that are resistant to thinners or
solvents
6) Eye protection - you don't want the thinner or brake cleaner splashing
in your eye.
|
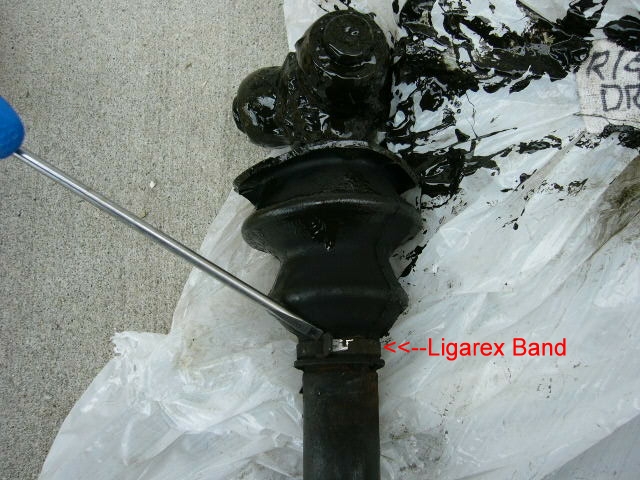
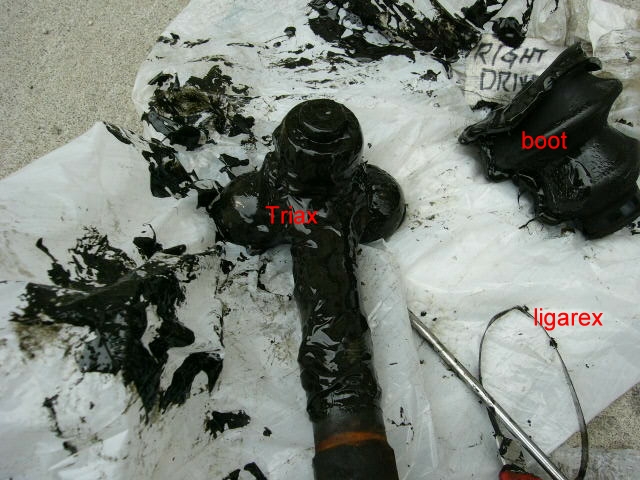
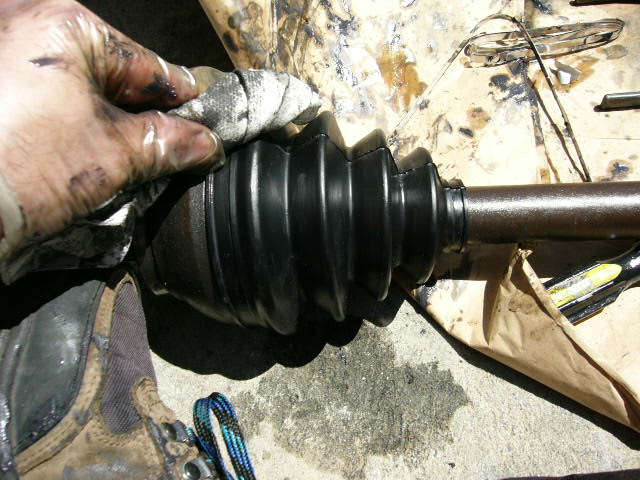
| Remove the Ligarex band
(9) that holds the
remains of the inner boot (7). |
 |
| |
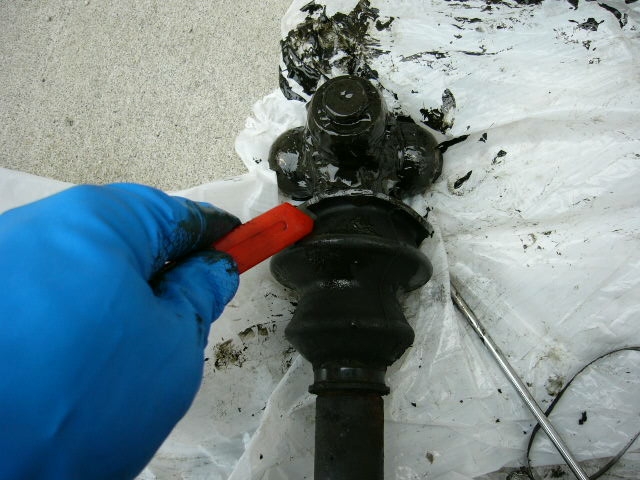
| Use a cutter to cut away the boot.
If you use a cheap plastic blade holder, you don't have to worry about
getting your good blade holder dirty. |
 |
| |
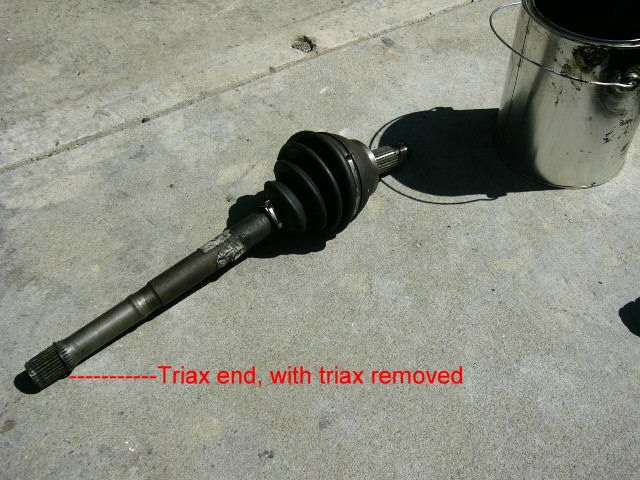
| The Triax (5) with the boot
(7) removed. |
 |
| |
| Set the triax in the steel can and pour
turpentine over it. |
 |
| |
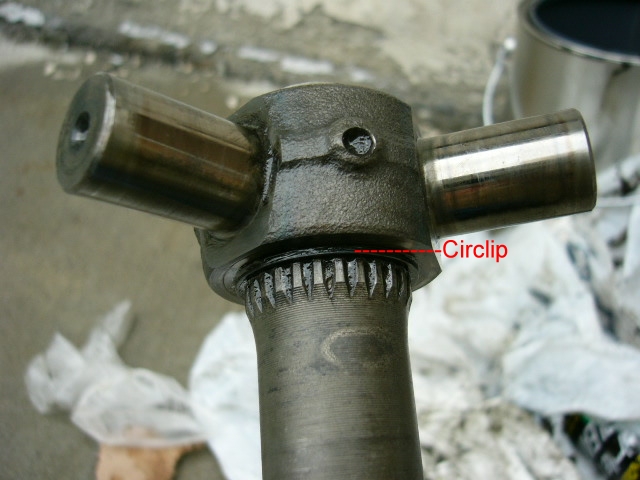
| With the grease removed (using lots of
paper towels) remove and set aside the steel bearings (Rotules - 6). There is
a circlip (4) on the inboard |
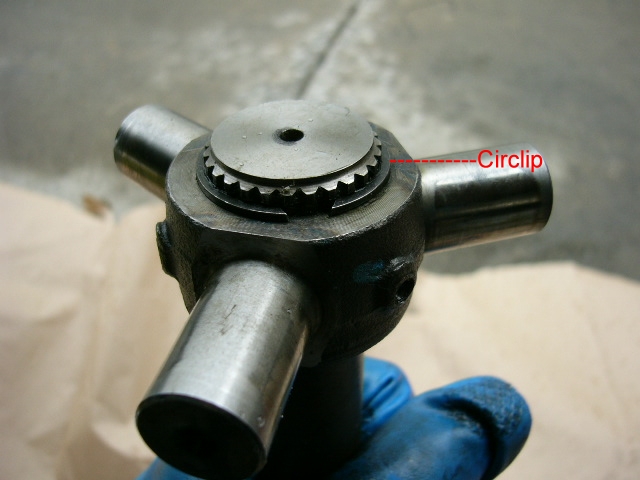 |
| and outboard side. Your life will be
much better if you invest in a set of tools designed
specifically for installing / removing circlips. |
 |
| |
| Take both assemblies to a shop with a
press and have the triax ring (5) removed with a press. You will
spend a lot of time trying to remove them with hand tools. And
then you will go to a shop with a press anyway. |
 |
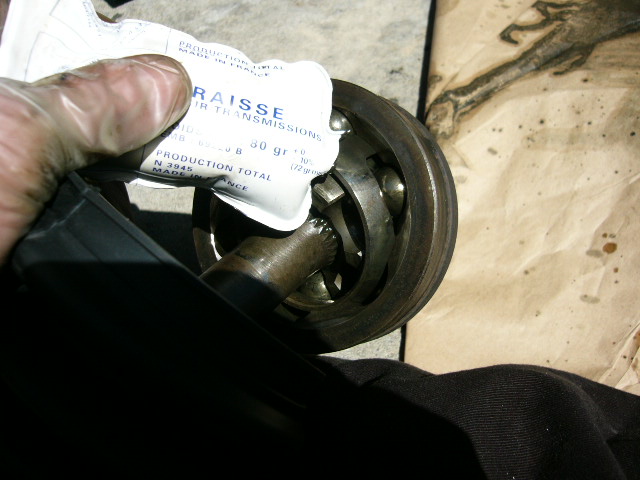
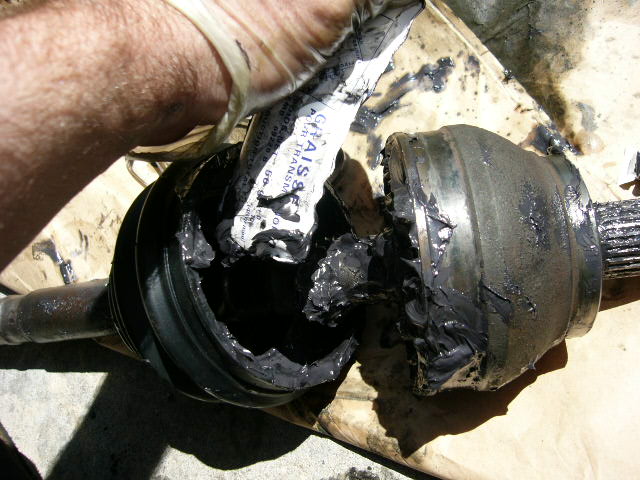
| Now, we clean the outboard joint(13): Remove the Ligarex band
(9) and cut the rubber
boot (7) away. |
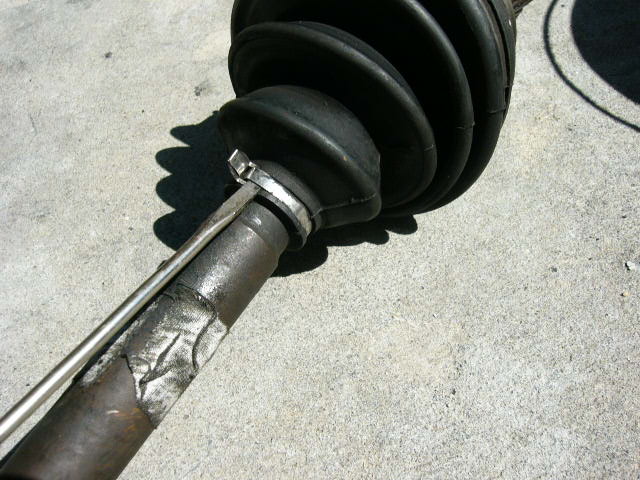 |
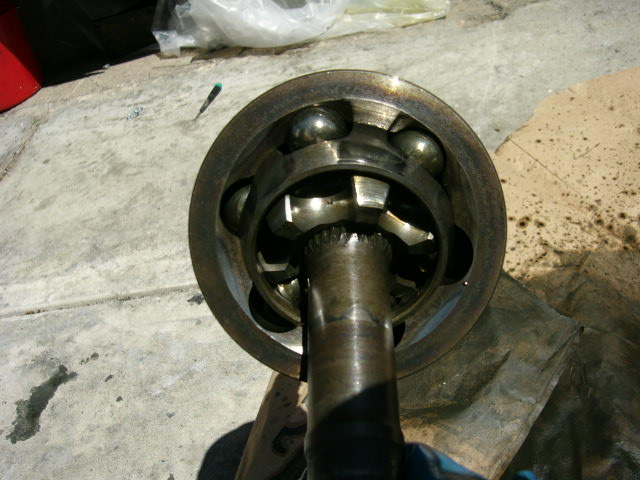
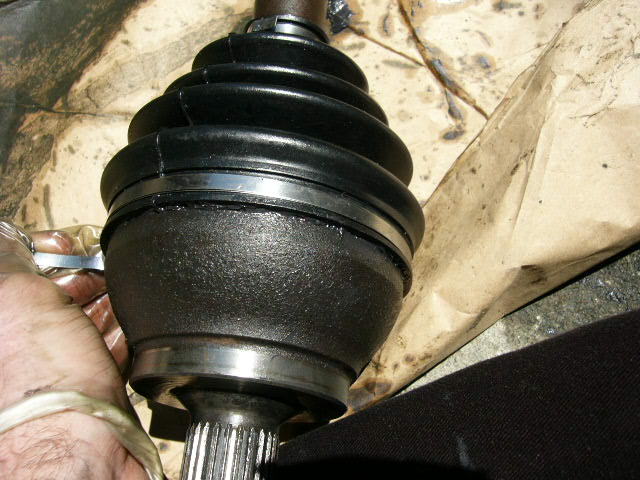
| outboard CV joint with boot removed. |
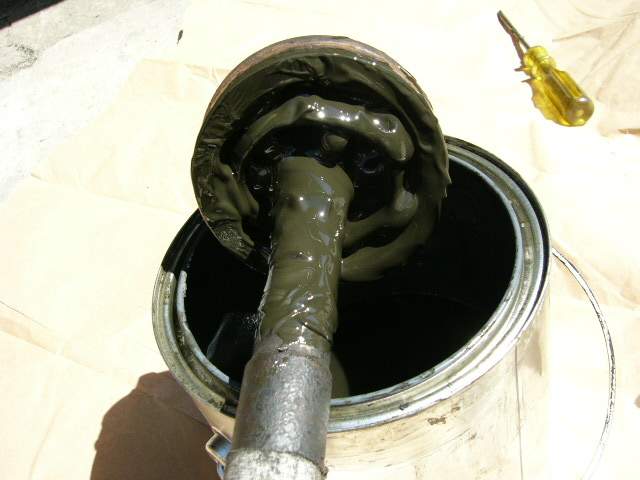 |
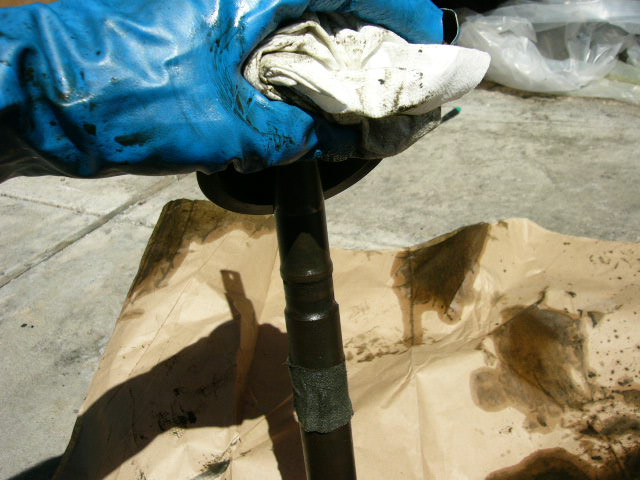
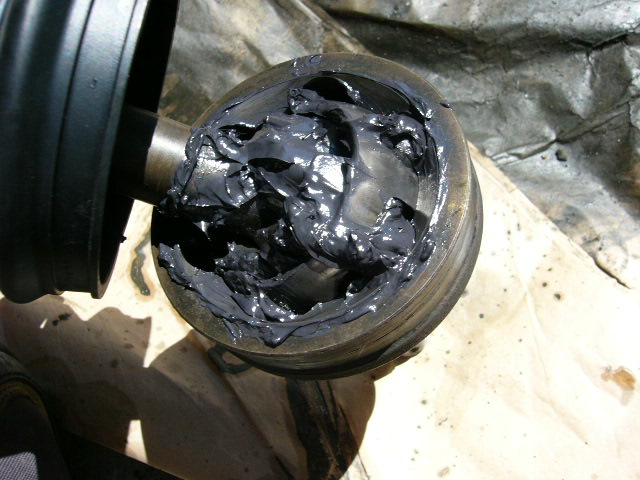
| Set the whole joint in the turpentine and
turn it to circulate the solvent through the joint. |
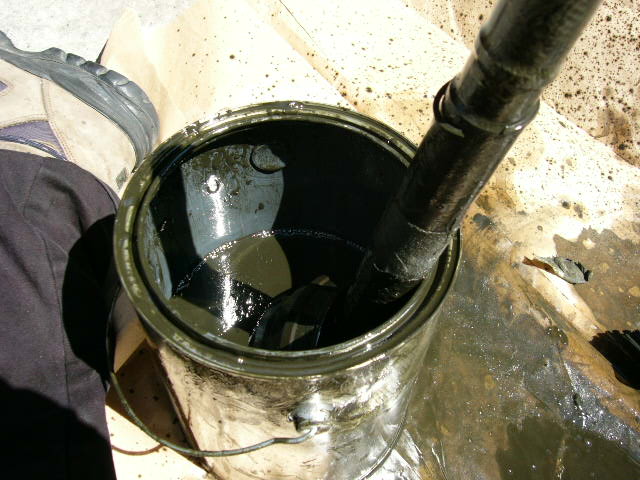 |
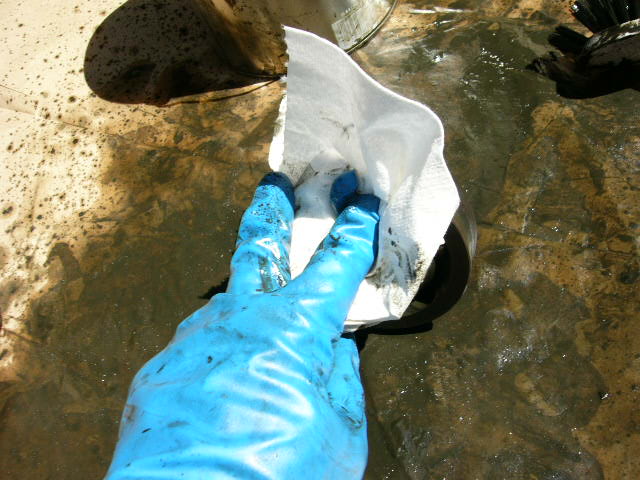
| The solvent will thin the grease.
Use clean paper towels to remove the grease. Use lots of clean
towels & throw them away. Remember they are cheap and
disposable, treat them accordingly. Set the joint back in the
turpentine and circulate it again. Then towel it out. Repeat
several times. Then rinse it with brake cleaner. |
  |
| CV Joint after cleaning. |
 |
| Contents of CV Boot kit. |
 |
| I was a complete retard and I set the reinforcement rings in the boot
WRONG!!!! Apparently the plastic rings go on the outside of the boot
to keep it from ballooning out from centrifugal force at speed.
I thought the rings went on the inside to keep the boot from
collapsing when the joint is flexed.. |
 |
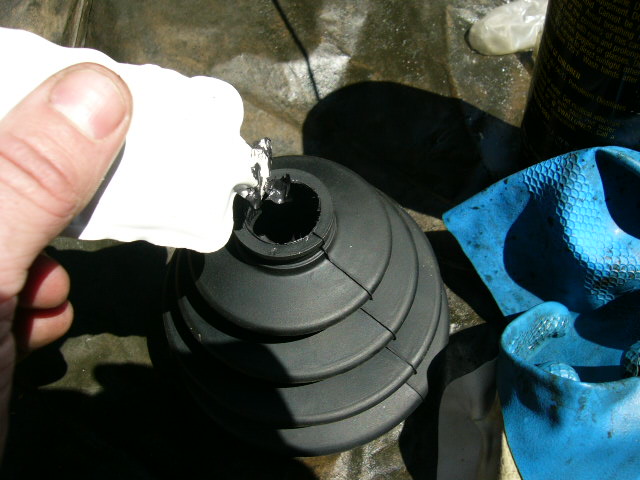
| Put some of the grease on the inside of
the smaller opening. It will be easier to slide. |
 |
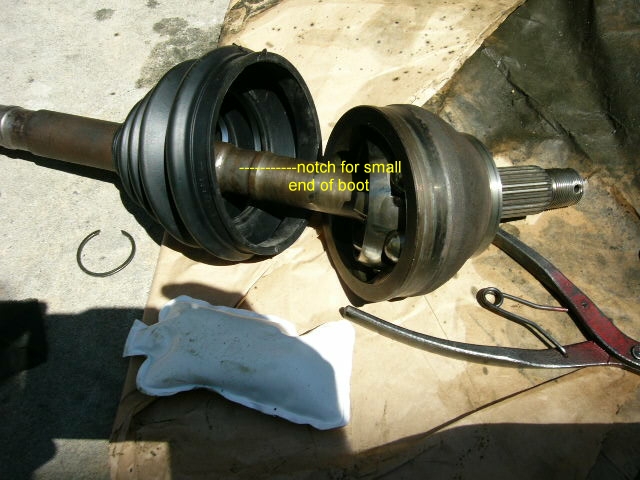
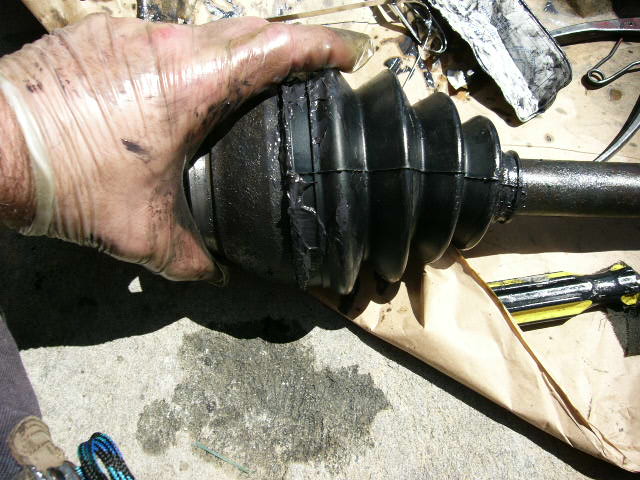
| Driveshaft with boot attached. Note that
the driveshaft has a notch designed to accommodate the small opening
on the boot. |
 |
| Put one tube of grease in the CV
joint, turning the driveshaft to distribute the grease in the joint.
You'll note that I switched back to the lighter vinyl gloves.
The blue gloves that were supposed to be 'impervious' to petroleum
solvents fell apart. The grease is not as toxic, though. |
  |
| Put the other tube of grease in the boot.
You will see that it quickly turns into a big mess. |
 |
| |
| Set the boot onto the metal case of the
joint, and clean the grease from the outside. |
  |
| |
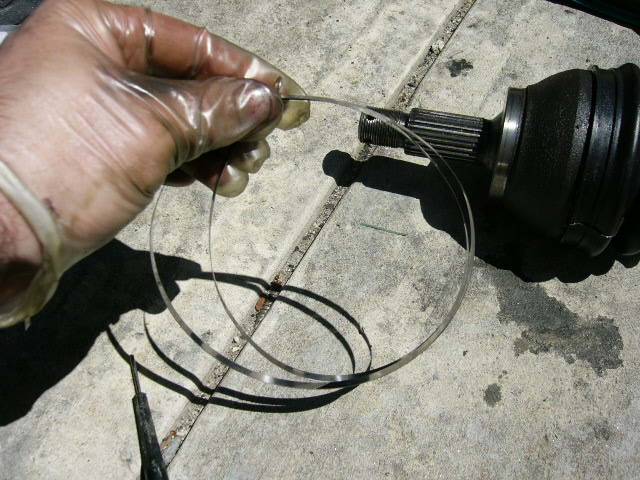
| Ligarex the boot to the case: Make a double loop of the Ligarex
ligature, and set it around the indentation on the boot. |
  |
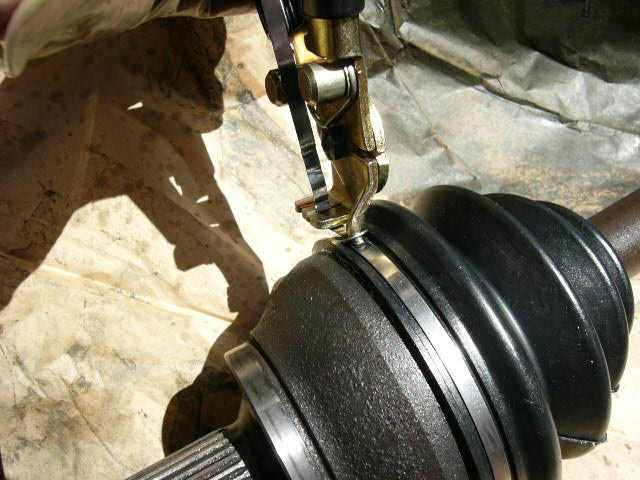
| Tighten the ligature with the Ligarex
tool. Very important that the band be tangential to the loop. |
 |
| |
| |
| Next, the
Triax Joint. |