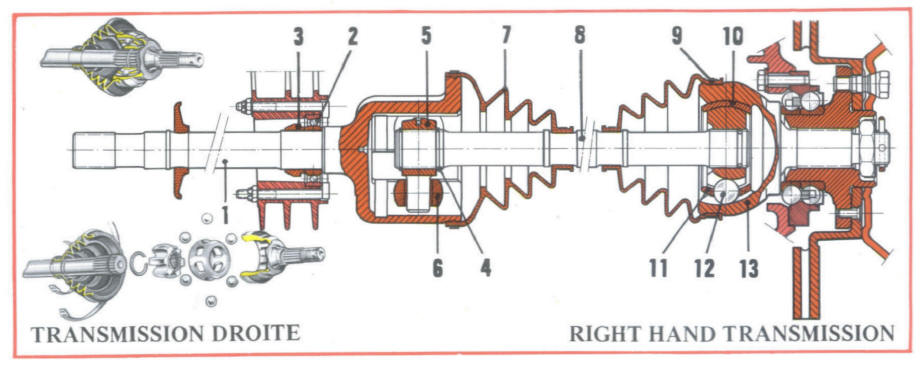
First, the factory's diagram
of the Right Side Driveshaft
3) Lock-ring
2) Bearing
6) Balls / Rotules
5) Tri Axe
4) Circlip
7) Boot
8) Drive-Shaft
11) Coupling
9) Ligarex
12) Balls
10) Housing
13) Stub-Axle
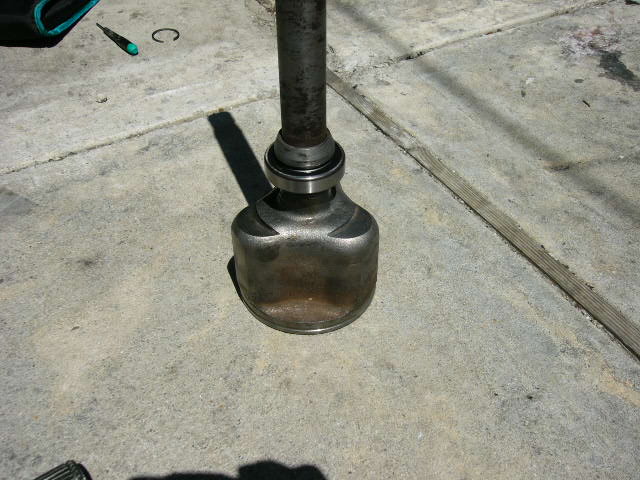
I replaced the intermediate
bearing (2). You will need a press to remove the lock-ring (3)
and the bearing (2).
The Triax Case
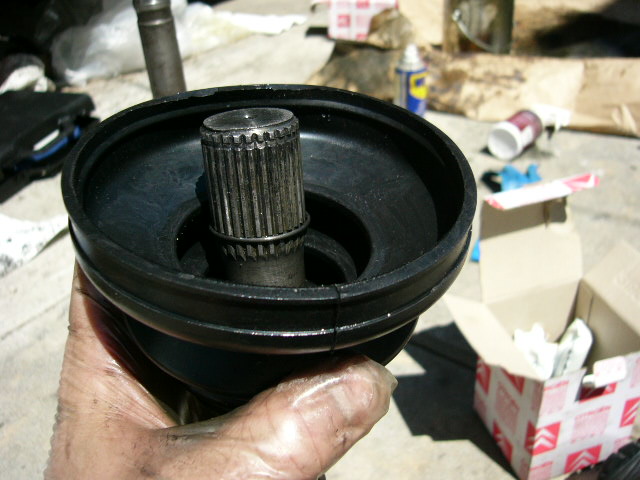
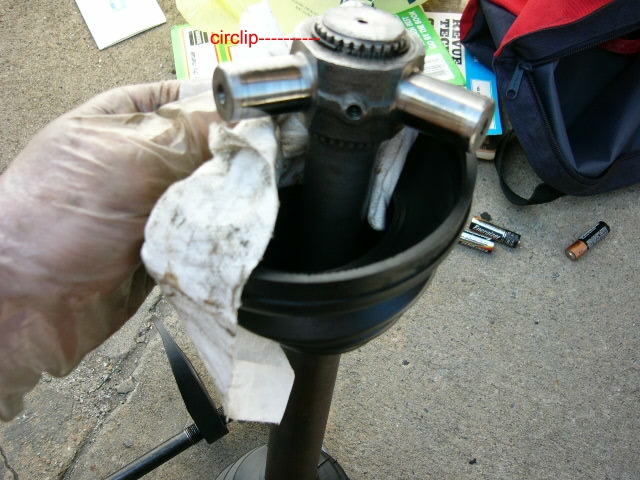
The splined end of the driveshaft that
receives the Triax Coupling /Spider (5).
Note the lower circlip
(4) is in place,
the upper one is not. The upper one is off because I have to
slide the Triaxe Coupling (5) onto the splined shaft. When I did
this job, I took the spider/triaxe coupling (5) off the driveshaft.
I've been told that it is possible to replace the boots without
removing the spider (5) . You have to stretch the small hole of
the boot over the three arms of the spider. I have not tried
this, so I don't know.
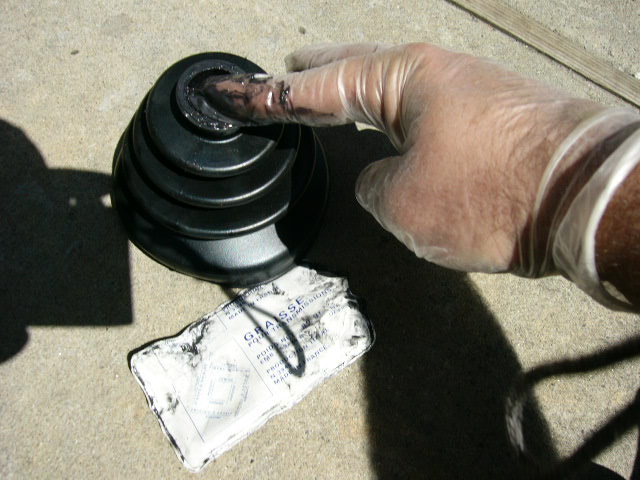
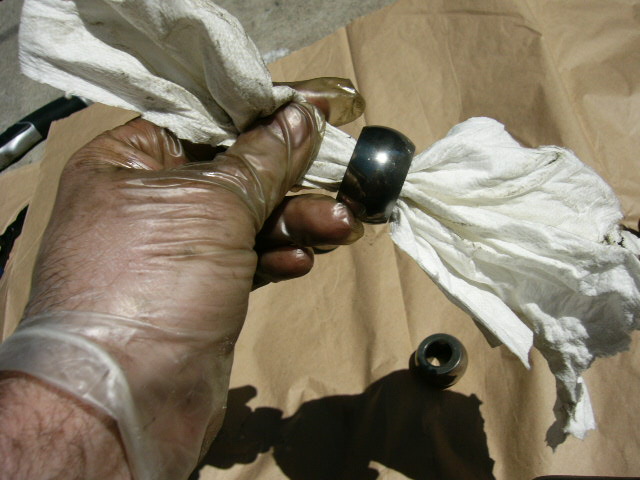
Put some grease on the inside of the
smaller opening, and slide the boot (7) onto the shaft(8).
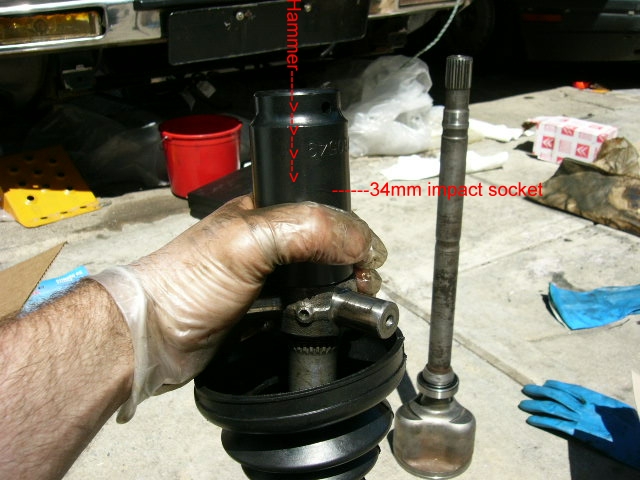
You know the 34mm impact socket you used
to loosen the axle nuts when you first removed the driveshafts?
Perfect to tap the spider down onto the splined shaft.
The spider(5) mounted on the splined shaft.
Note I have installed the circlip(4) , AFTER putting the spider in place.
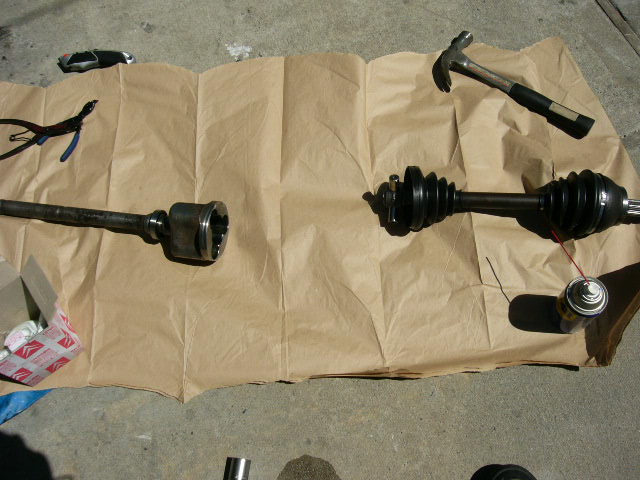
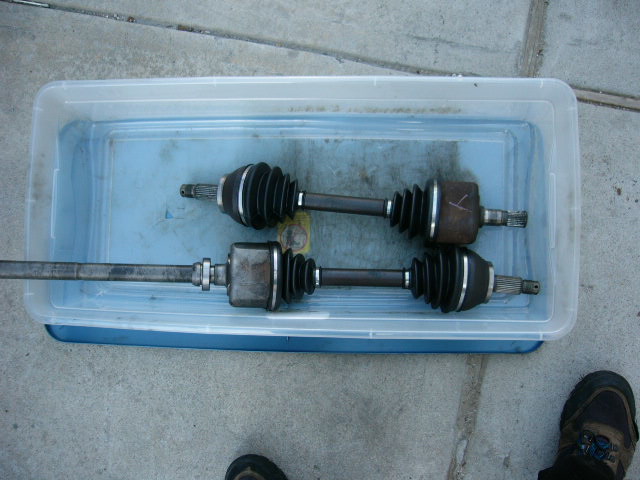
The setup before assembly:
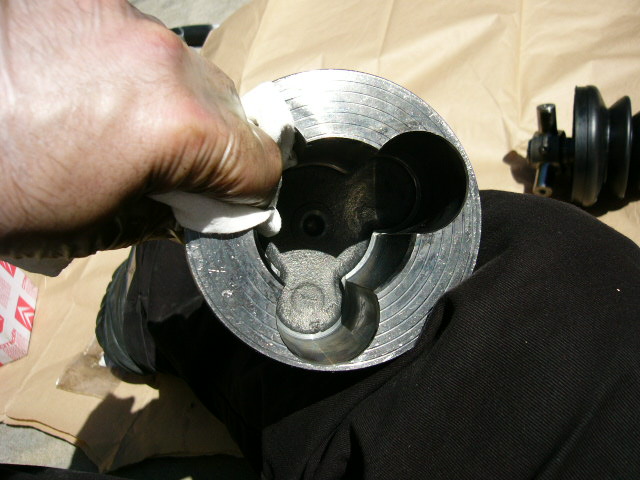
Give the triax case a good cleaning with
paper towels and brake cleaner.
The rollers (6) need a good cleaning also.
You must be scrupulously clean. Any grit in the triax will ruin
the joint.
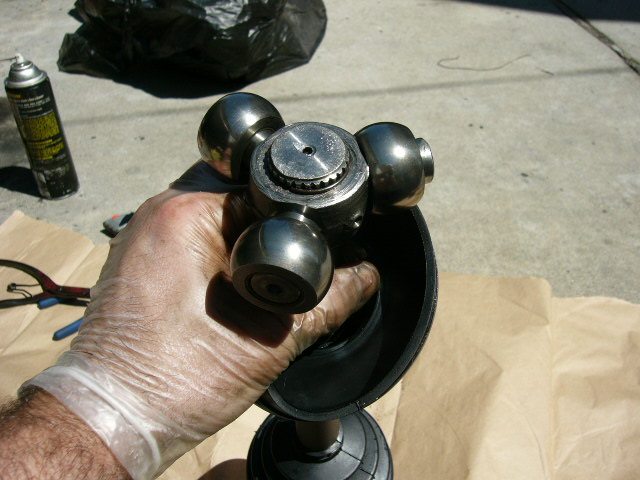
The rollers (6) assembled onto the triax
spider(5). Each roller is matched to one of the three arms of the
spider. You will know by the ease or resistance to turning of a
roller when it is set on one of the arms. All the rollers
should offer about the same amount of resistance when turned.
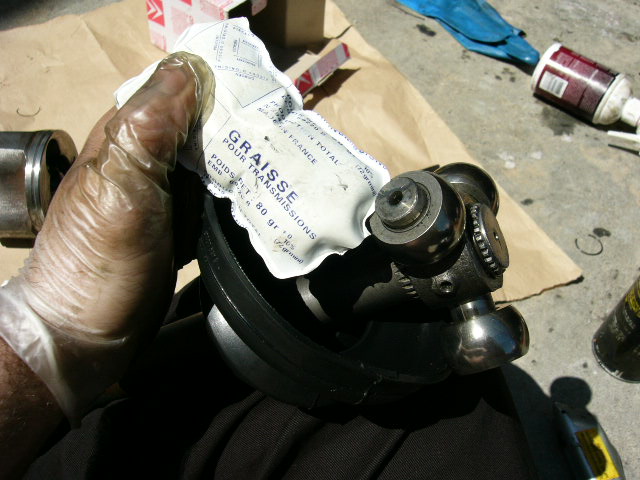
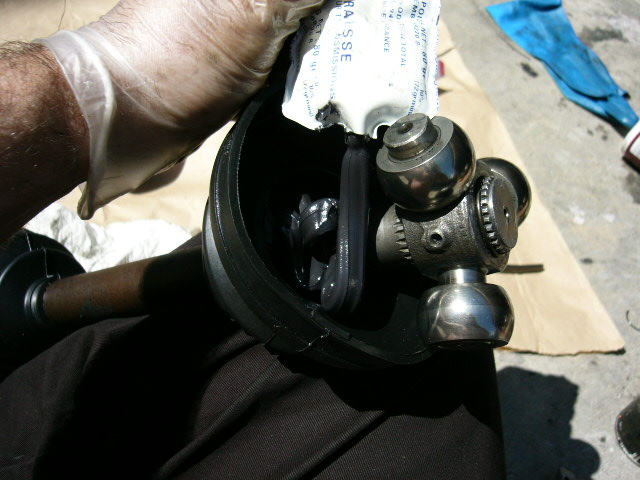
Put one tube of grease in the Triax
casing, and one tube into the boot (7).