|
The reinforcement plates |
|
You should now have the trim panel resting with the
insulation facing you. The next step is to remove the fasteners.
Remove them carefully, as you may need to re-use them. |
|
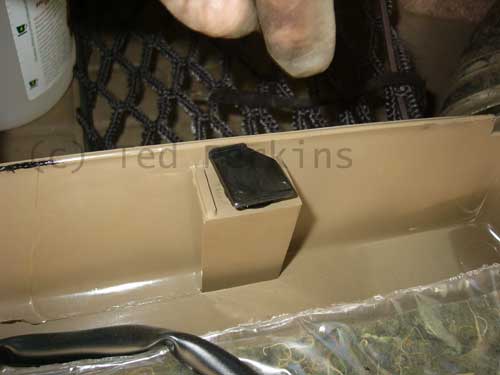
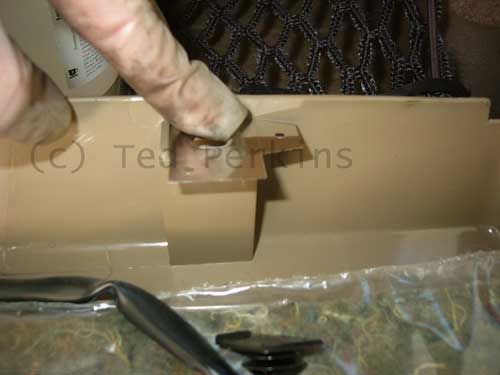
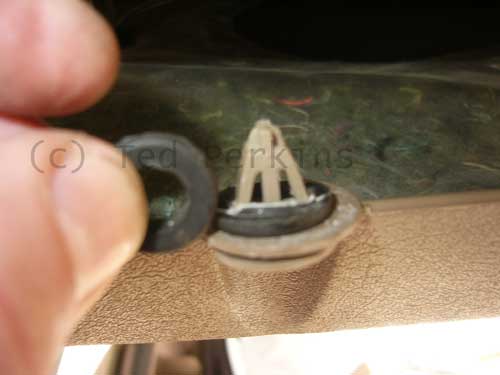
Here is the fastener as installed: |
|
 |
|
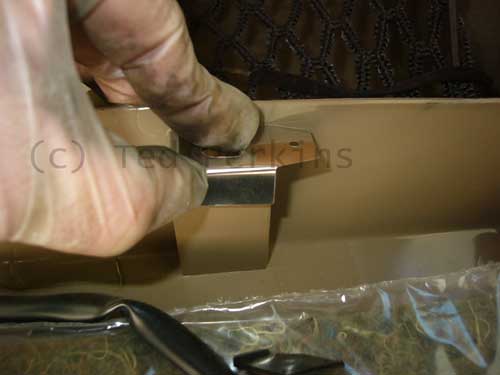
Rotate it 45 degrees. |
|
 |
|
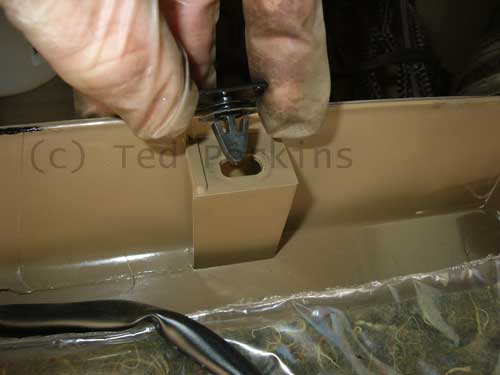
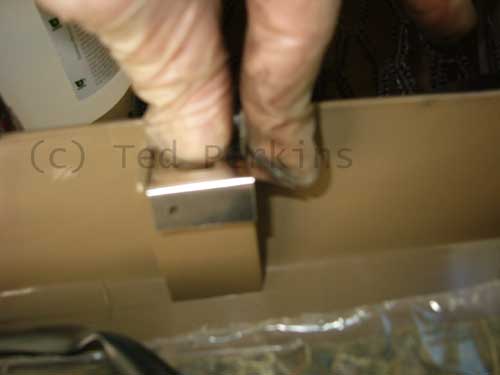
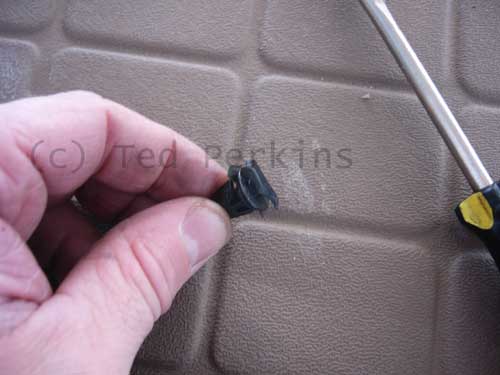
You can now remove the fastener. Now that you
can see underneath the fastener, aren't you glad you supported the
weight of the panel? |
|
 |
|
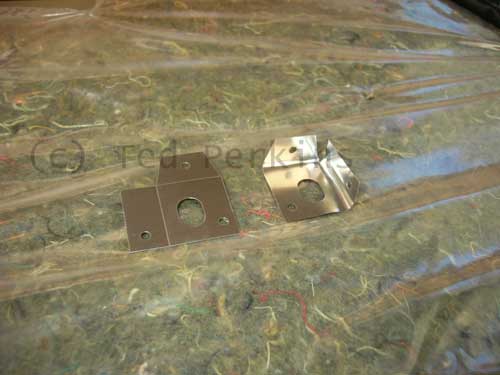
The repair kit consists of: four metal plates, four
new black plastic mounting tabs, and some screws. The metal
plates reinforce the plastic of the trim panel where the plastic
mounting tabs insert. These are bent around the mounting points
on the trim panel. The plate on the left is as it arrived, the
one on the right is after I bent it to fit the mounting point. |
|
 |
|
The flat reinforcement plate will only fit one way
on the mounting point. |
|
 |
|
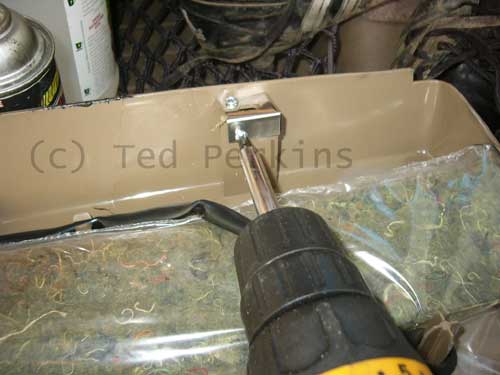
Bend the tabs around the mounting point |
|
 |
|
|
|
 |
|
|
|
 |
|
Make your life easier by drilling pilot holes, |
|
n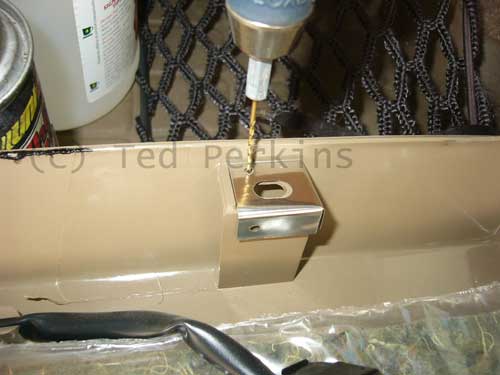 |
|
before installing the screws. Don't drill all
the pilot holes at once. Drill a pilot and then set the screw
before drilling the next pilot hole. The hole on the metal plate
will shift as you tighten the screw. The vendor thoughtfully
provides a few extra screws, just in case. |
|
 |
|
|
|
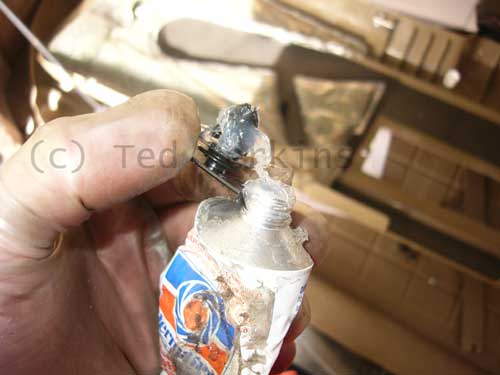
There was a recommendation on Brickboard to put some
silicone goop on the tabs that insert into the mounting point.
Sage advice, as the source of the rattle may indeed be the tab
bouncing about in the mounting point. Can't hurt. |
|
 |
|
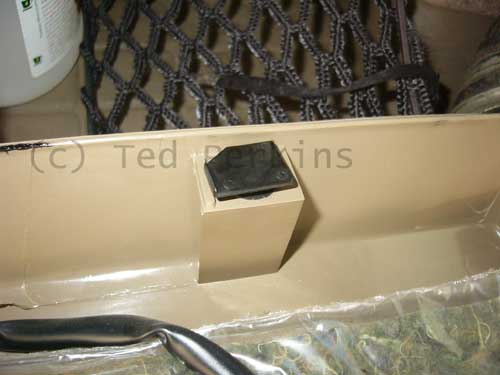
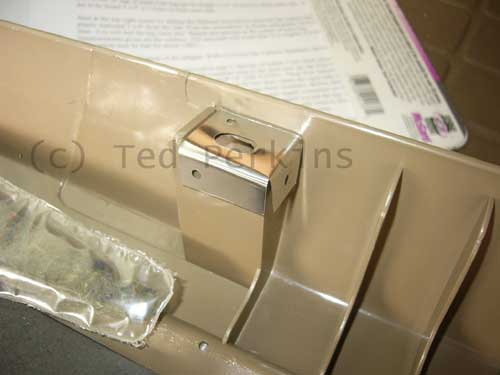
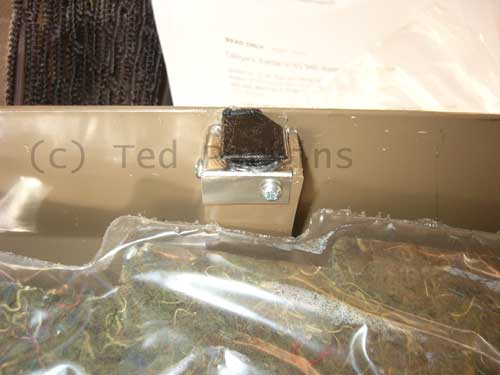
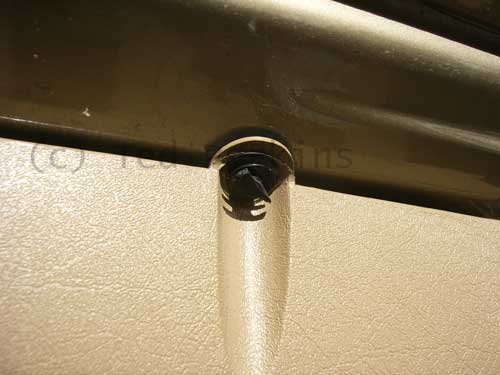
The mounting tab as installed in the trim panel,
along with the reinforcement plate. |
|
 |
|
|
|
You're now ready to re-hang the trim panel back in
the slots on the tailgate.
But first do the
'might-as-wells'.
Then take a break and have a cuppa. It's a little
frustrating getting all four black tabs lined up with the slots.
You'll want to tackle this part with a clear head.
Try first by sitting inside the cargo area & fitting the panel with
the door closed. If you look at the glass, you can see
reflection of the black tabs. The reflection will help you to
align the tab with its slot. It's going to take several tries.
Be patient. If this proves frustrating, try with the
tailgate open. |
|
|
|
If you are working with the door closed, re-set the
long black screws at the latch lever. |
|
If you are working with the door open, have the
interior-coloured fittings for the lower part of the trim in your
pocket. Once you have the upper tabs set, take a fitting from
your pocket and use it to anchor the lower part of the panel.
Keep supporting the panel with your hand until you have at least two
fittings in place. Then you can re-set the long black screws at
the latch lever. |
|
|
|
The lower part of the panel was a bit loose. I
sliced up some grommets and placed them as shims between the trim
panel and the steel of the tailgate. |
|
 |
|
Also one of these beige fasteners was missing.
Remember the broken fastener from the top? |
|
 |
|
Perfect fit to replace the missing fastener.
 |
|
|
|
|
|
|
|
|