|
SLIDE the trim panel off |
|
John Hibbert wrote an excellent verbal
description of the trim removal process and posted it on
Brickboard.
Much of this narrative is his. |
|
The only thing holding the complete trim to the door now are the four
fragile plastic tabs at the top. YOU MUST SUPPORT THE WEIGHT OF
THE PANEL WITH YOUR HAND. DO NOT PULL THE TOP OF THE PANEL AWAY
FROM THE DOOR. The bottom of the panel will hang loose.
|
|
|
|
The next step is to slide the trim panel towards the
glass
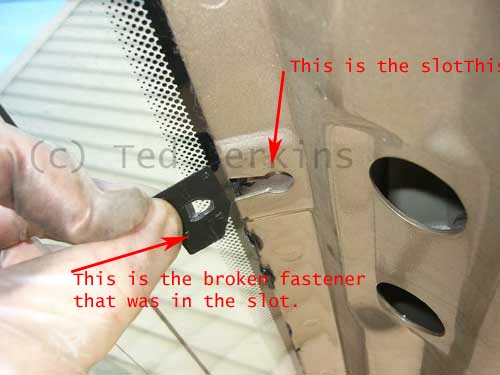
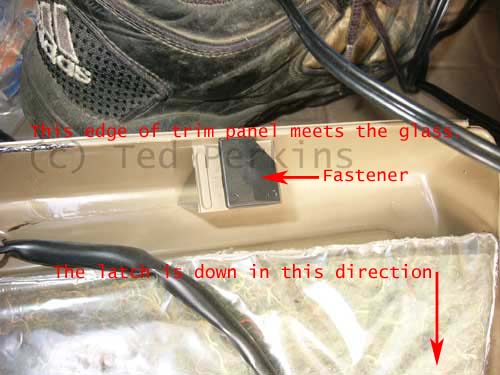
Study the following images closely. You cannot
see this stuff until you have removed the panel. Look at it
here, understand how the fasteners slide down into the slots.
This understanding will help you to slide the panel up towards the
glass without breaking the panel. |
|
 |
|
Here is the other part of the broken fastener.
This was the cause of the rattle. |
|
 |
|
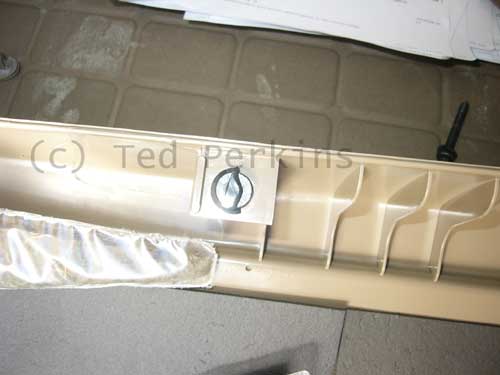
Here is a new fastener, for reference. |
|
 |
|
|
|
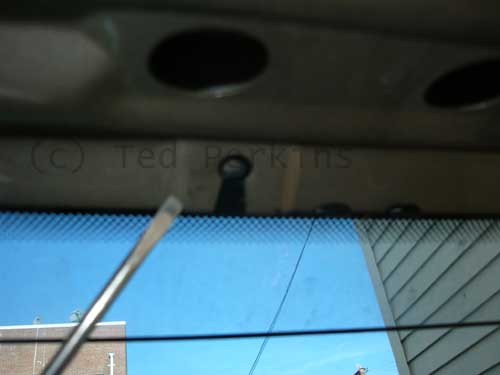
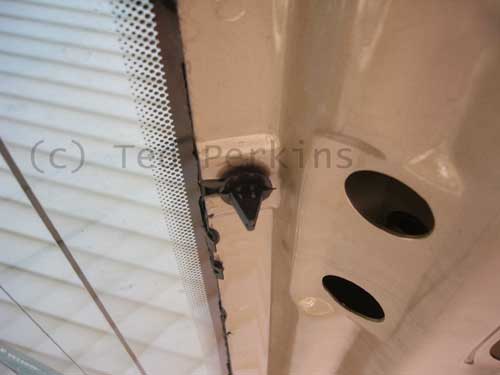
Sorry for the poor focus, but you can see the
keyhole shape of the slot. |
|
 |
|
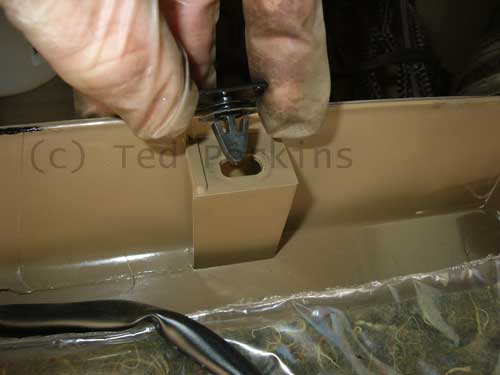
Here is inside of the trim panel. The black
plastic is the fastener, attached to the trim panel. (Ignore the rugby
boot) |
|
 |
|
Here's how the fastener attaches to the trim panel. |
|
|
|
I placed a fastener in the slot so you could see how
it fits. |
|
 |
|
 |
|
|
|
|
|
|
|
You can now remove the trim panel by sliding the
entire panel towards the glass. Support the weight of the panel
with your hand. In fact it might help to press the panel in a
bit along the top edge (along the glass) as this might loosen the
fasteners from the slot. A few light taps along the lower (cargo
floor) side of the panel might help. |
|
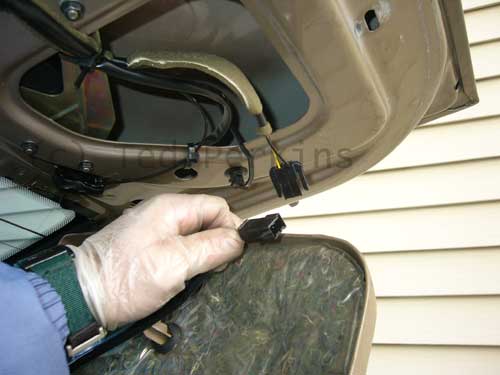
John recommended disconnecting the wire before
removing the panel. I think you can remove the panel first, then deal
with the wire. I'm not comfortable with leaving the panel
hanging whilst you fiddle with the connector. There is
enough slack in the wire to allow you to rest the far edge of the
panel on the cargo area floor and keep this side close to the door
panel. |
|
|
|
 |
|
|