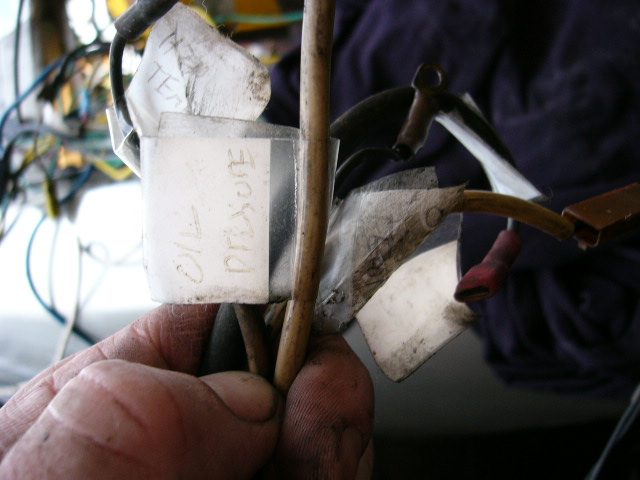
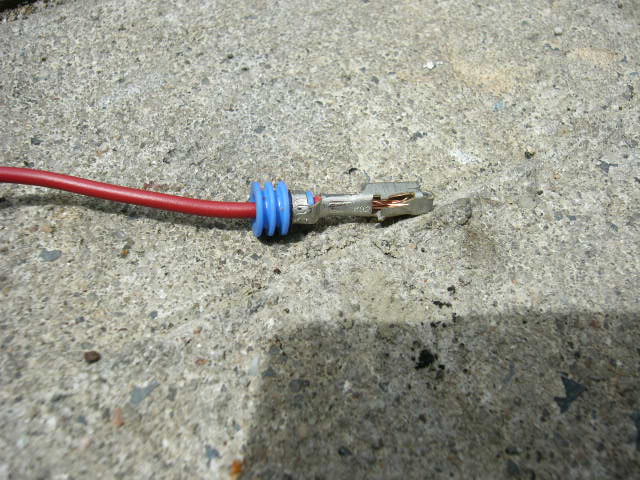
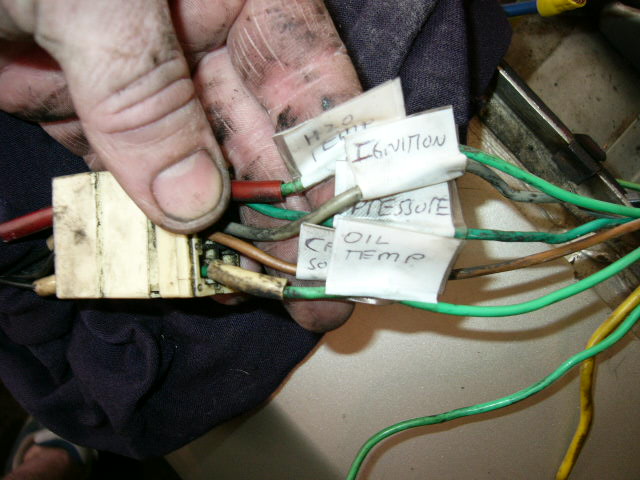
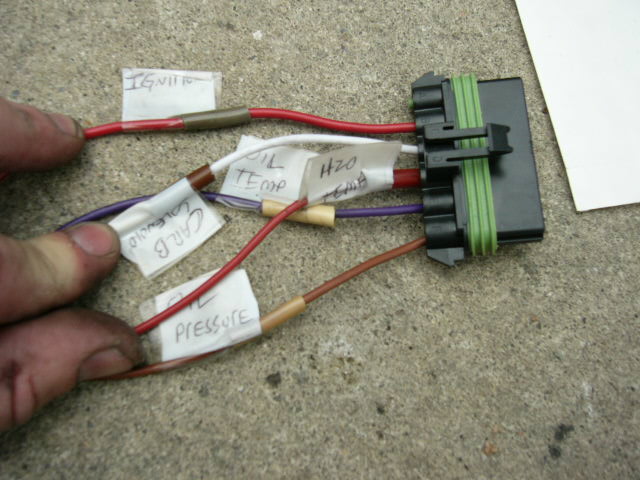
Given the condition of the wiring elsewhere on the car, it was a given that the wiring on the engine be reworked as well.
When each wire is removed from a sender or other electrical component, it MUST  be labeled.  Label each wire before proceeding on to remove the next wire.  Do not depend on your memory to reconstruct the locations later on.  Do not depend on the factory specs that indicate wire color.  I have found them to be inaccurate.
Follow each wire to the plastic connector that is on the crossmember.  Each wire will have a counterpart on the other side of the connector.  The counterpart wire connects to the various warning lights, ignition switch, etc.  Label each of the counterpart wires that matches to the appropriate wire coming from the engine. 
Once you have labeled the wires that are still attached to the car, set out the engine-side harness and cut ONE wire at the plastic connector.  DO NOT CUT ALL THE WIRES.  You must prepare the new harness one wire at a time, so that you do not confuse the wires.  Construct each new wire completely before proceeding through any steps to replace the other old wires.  Save the plastic sleeve, if any.
Measure the length of the old wire and cut an equivalent length of new wire.  I usually give myself a little bit of slack - extra length in the wire.  You can always cut out the extra wire at installation. 
Remember the sleeve on the wire you just cut from the connector? Put it on the new wire,

before you install the terminal.  Don't forget to label the wire.

The completed new engine harness. Each wire is labeled and has the colored sleeve, if any.