| When the Citroen engineers first designed the engine
compartment of the CX, the brake accumulator was located in a logical
place. It was probably very easy to reach on the first versions of the
CX. But as the CX was modified over time, this ease of access
diminished The addition of airconditioning, a 5-speed
transmission, a larger battery, a wider radiator with larger hoses,
and under carriage stone guards all combined to encroach on what
was probably an easily reached part. It's almost as though they
installed systems in open areas, with little regard to what other
systems they might impact. So, now, the brake accumulator is a
royal pain in the ass to reach, particularly on the Grande Exportation
models, which have extra underbody protection that takes forever to
remove. The 2200 had what was likely the original accumulator;
it is seized to the base, it is rusty, and it piddles LHM irregularly
when it is turned over, indicative of a ruptured membrane.
The low location makes it more vulnerable to corrosion from road
spray. It's not just my CX
that seems to have problems with unchanged pressure accumulators.
I recently saw a CX at the 2004 Citroen Rendezvous. The owner
had spent a substantial amount of time and money to repaint the car
and refinish the bumpers. But, the accumulator was a big
ball of rusty steel. It was just as weathered and corroded as
the frame holding it up. Obviously it had never been replaced. |
|
|
| |
|
|
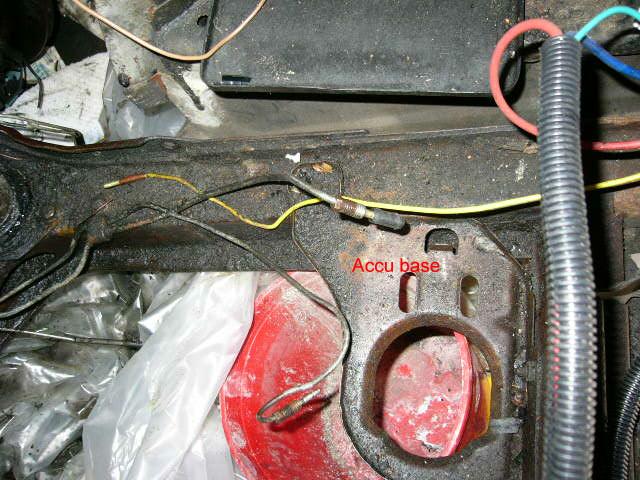
| Here is the original location of the
accumulator bracket, at the forward port side of the engine
compartment. The battery tray is visible at the top of the
frame. Notice the solid layer of grease on the
frame! Grease is good. It prevents rust. |
|
|
 |
|
|
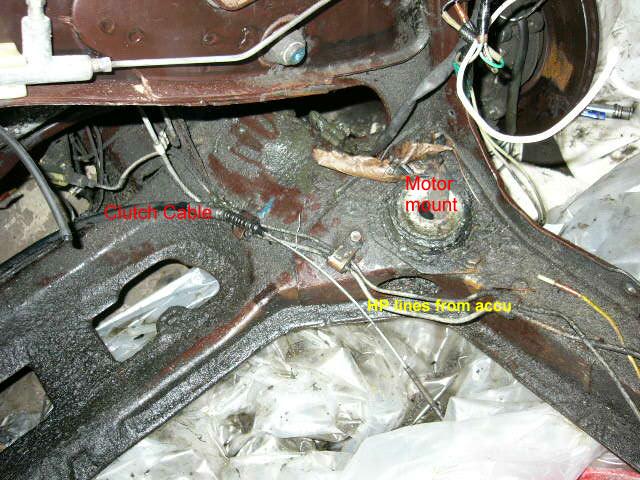
| Here is the aft port section of the engine
compartment. You can see where I have labeled the motor mount
(to be removed) the clutch cable, and the existing HP lines. |
|
|
 |
|
|
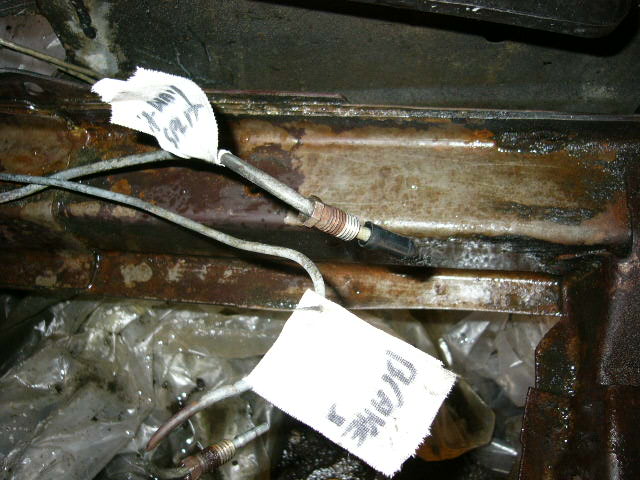
| Here I have labeled the HP lines that take
HP from the brake accumulator to the rest of the hydraulic system. |
|
|
 |
|
|
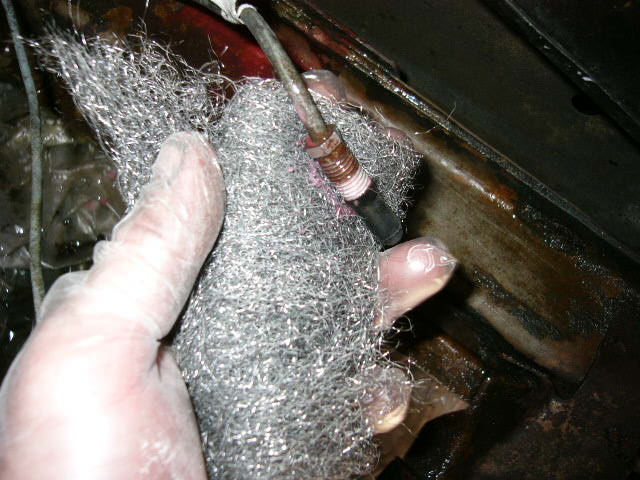
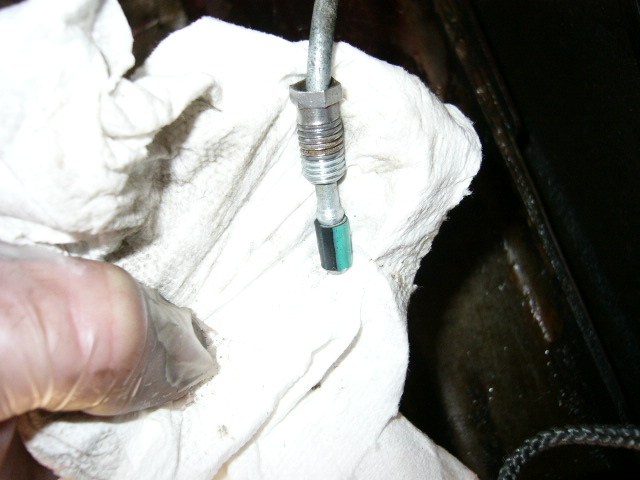
| I gave the union nuts a good scrub with
steel wool and rust dissolver. |
|
|
 |
|
|
| And I installed a new seal. |
|
|
 |
|
|
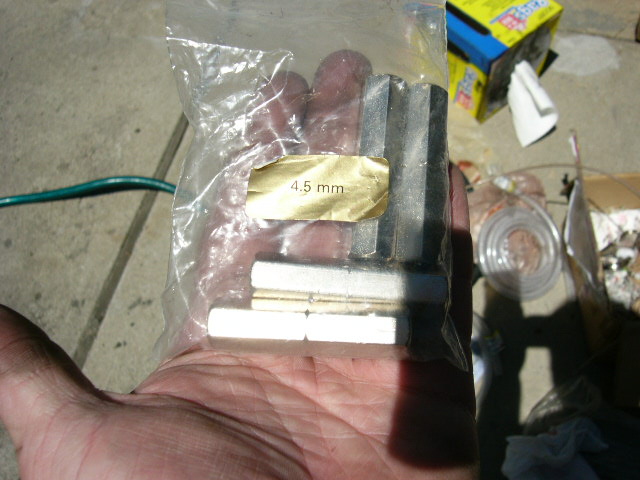
| Pleaides sells these union - splice
adapters. |
|
|
 |
|
|
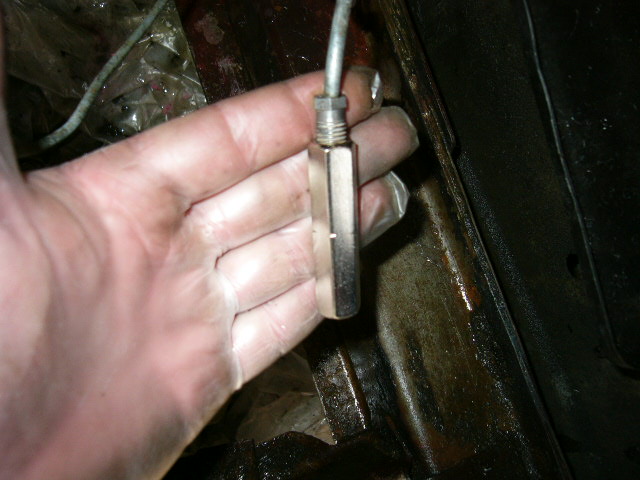
| I attached one to the HP line on the car. |
|
|
 |
|
|
| I created the
new flares with a kit I also bought from Pleiades. |
|
|
| |
|
|
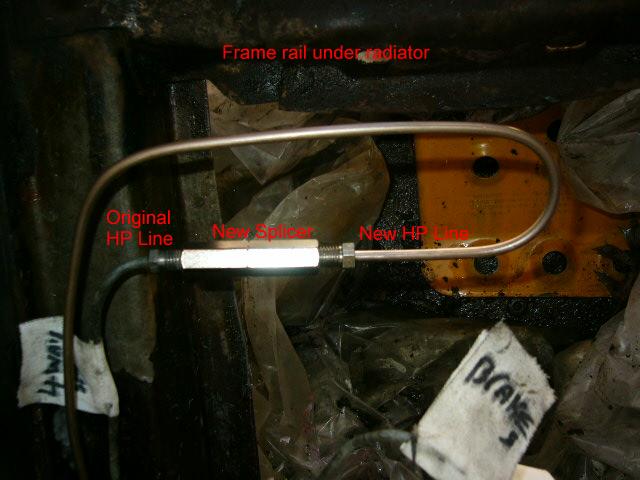
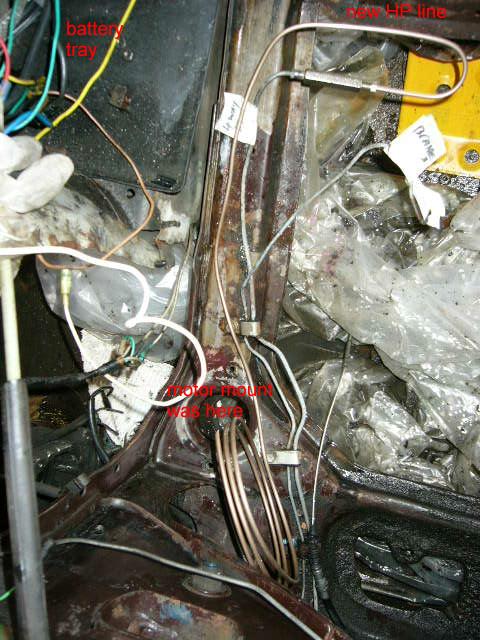
| Here is the new pipe installed at the
former location of the Brake Accumulator. I have removed the support
bracket for the Brake Accumulator. This car is a Grande
Exportation model, so there is a steel plate under the engine
compartment to protect the underside. If there were not, I
would fabricate some sort of plate for this corner. |
|
|
 |
| same view, zoomed out. |
|
|
 |
|
|
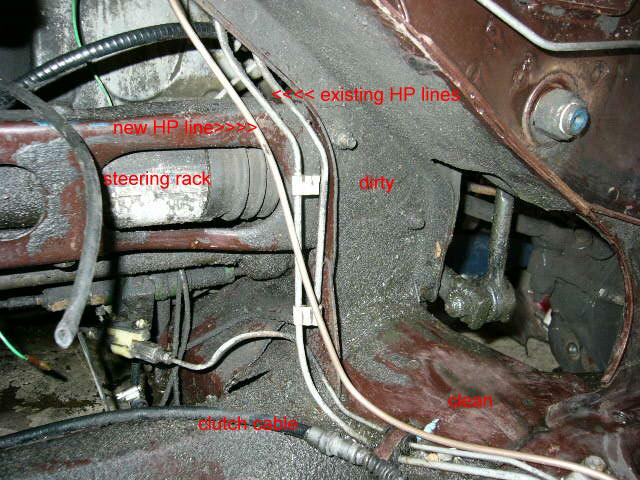
| Here I have pulled the new HP line up
behind the rear crossmember, following the same path as the existing
lines. You can see the difference of where I have been cleaning
the old dirt and grease |
|
|
 |
|
|
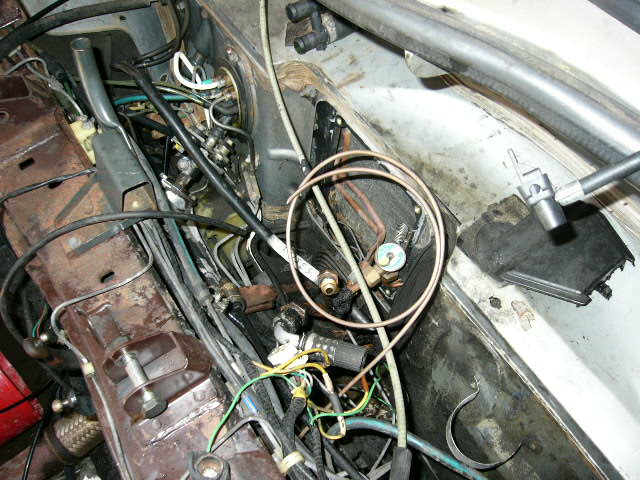
| View of the area behind the crossmember.
I have left the HP line coiled there until I locate the brake
accumulator. |
|
|
 |
|
|
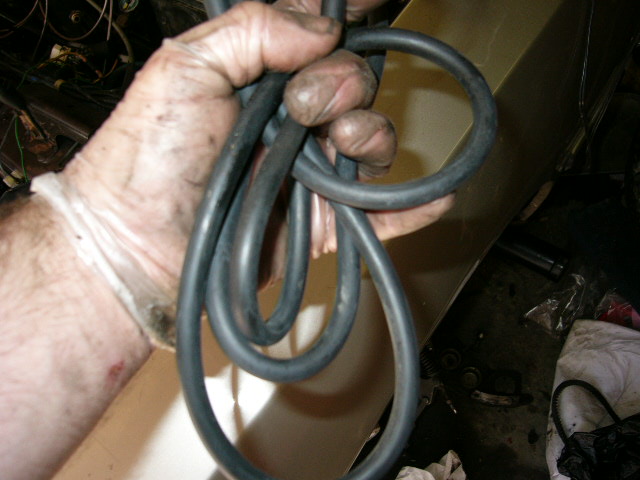
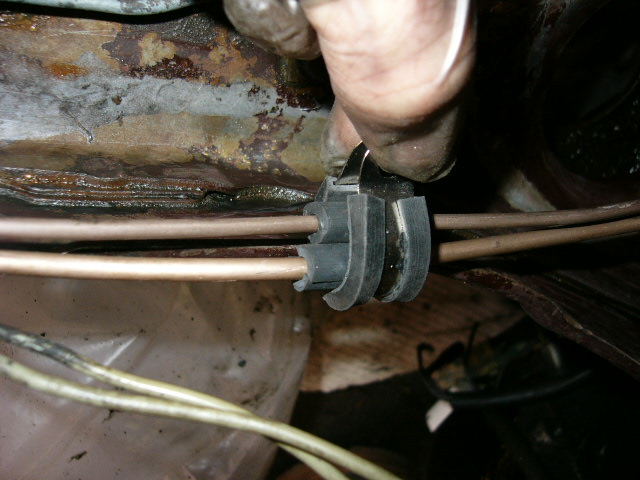
| Anchoring the HP lines. The HP lines
should be anchored to the car. |
|
|
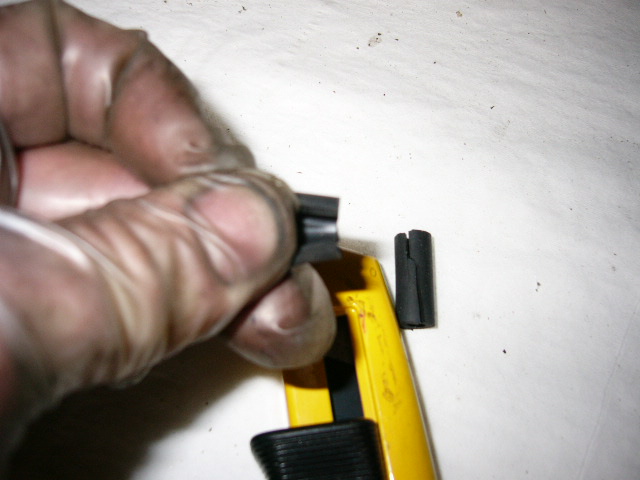
| I used windshield washer tubing, |
cut it into 2cm sections, |
  |
|
|
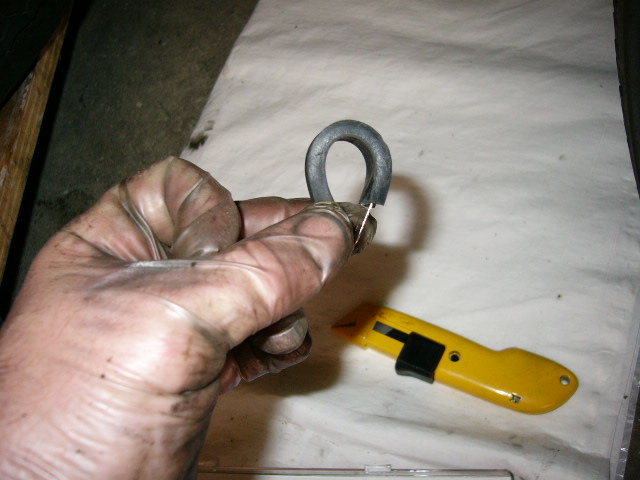
| And used rubber-lined wire anchors |
to anchor the HP lines |
|
|
  |
|
|
| |
|
|